FiguresPopular pick
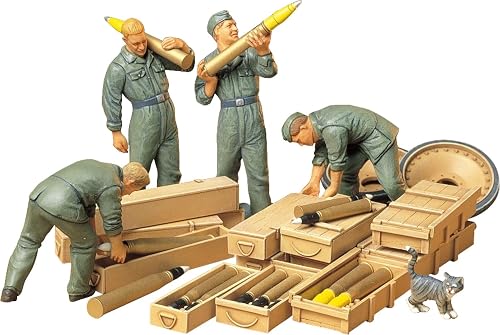
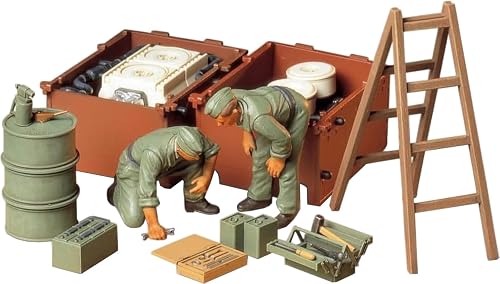
1/35 crew and infantry figure sets to bring tanks and dioramas to life.



Nothing matches these filters.
 Techniques
The order of work for painting a model tank: primer, base coat, camouflage by brush or airbrush, decals, wash, dry-brushing, chipping, tracks and…
Read guide Techniques
Make decals look painted on: gloss coat, soaking, Micro Set, Micro Sol and Mark Fit setting solutions, fixing silvering and wrinkles, and sealing the…
Read guide Techniques
Weathering basics: panel line washes, filters, dry-brushing, pigments, rust, mud and exhaust soot, plus how much is right for tanks, aircraft and…
Read guide Techniques
Airbrush basics for modelers: brush vs spray can vs airbrush, single vs dual action, compressors, thinning, cleaning, safety and your first practice…
Read guide Techniques
Build your first military diorama or vignette: the base, groundwork, matching figures to scale and period, telling a story, and using ruins and…
Read guideFigure sets are sold by army, period and pose: tank crews, infantry on the march, officers at a briefing, soldiers at rest. Decide what story you want to tell first. A tank commander leaning out of the hatch, a crew loading ammunition or infantry riding on the hull each make a very different scene. Then check that the uniforms fit the vehicle's period: early-war German soldiers wore different equipment from late-war ones, and US troops in the European theater looked different from those in the Pacific.
Figures can feel intimidating, but a simple method gets good results at normal viewing distance:
The 1/16 single-figure kits are larger and easier to paint in detail, and they make striking display pieces on their own.
A fine detail brush (size 0 or 00) helps for faces and eyes. Our tools page lists good brush sets.
Yes, if they are the same scale. Sizes vary a little between brands, which is realistic because people vary too.
Dry-fit first, then use a small drop of plastic cement or superglue. Drilling a pin into the foot makes standing figures much sturdier on a base.