Tools & PaintPopular pick
Everything plastic kits need but do not include: cement, sprue cutters, knives, primer, paint and weathering. Our first model kit guide explains what each one is for.







Nothing matches these filters.
 Types
How hard is that model kit? Learn to judge difficulty from skill ratings, part count, scale, tracks, clear parts, photo-etch, decals and tooling…
Read guide Beginner
Everything a beginner needs to build a plastic military model kit: the six tools that matter, which glue to buy, how to prime and paint, and the…
Read guide Techniques
The order of work for painting a model tank: primer, base coat, camouflage by brush or airbrush, decals, wash, dry-brushing, chipping, tracks and…
Read guide Techniques
Make decals look painted on: gloss coat, soaking, Micro Set, Micro Sol and Mark Fit setting solutions, fixing silvering and wrinkles, and sealing the…
Read guide Techniques
Weathering basics: panel line washes, filters, dry-brushing, pigments, rust, mud and exhaust soot, plus how much is right for tanks, aircraft and…
Read guide Techniques
Airbrush basics for modelers: brush vs spray can vs airbrush, single vs dual action, compressors, thinning, cleaning, safety and your first practice…
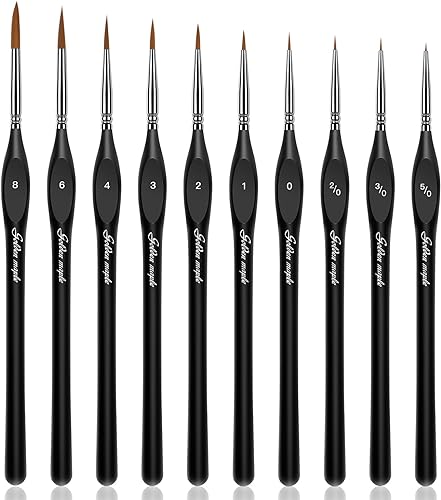
Read guideThe one tool worth buying good from the start is the sprue cutter: a sharp, flat-backed cutter saves more cleanup time than anything else. Paint and brushes can start cheap; inexpensive brushes are fine for base coats, and you can add a quality detail brush later. An airbrush is a big step up for camouflage and smooth finishes, but it is not needed for your first few kits.
For a full walkthrough of how each tool is used, read How to build your first model kit.
Plastic cement is better for plastic parts because it fuses them together. Superglue is for metal, resin or photo-etch parts.
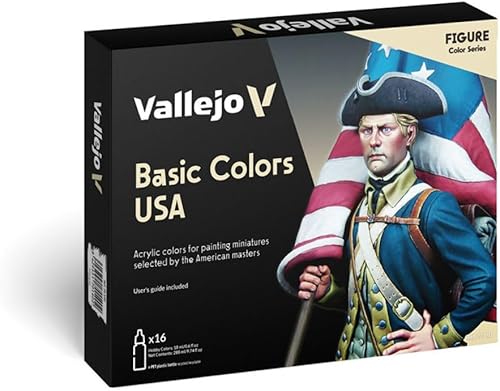
Acrylics for beginners: low odor and water cleanup. Enamels are useful later for washes, because they can be wiped over acrylic without lifting it.
Strongly recommended. It helps paint stick, evens out the color and reveals flaws before you paint.